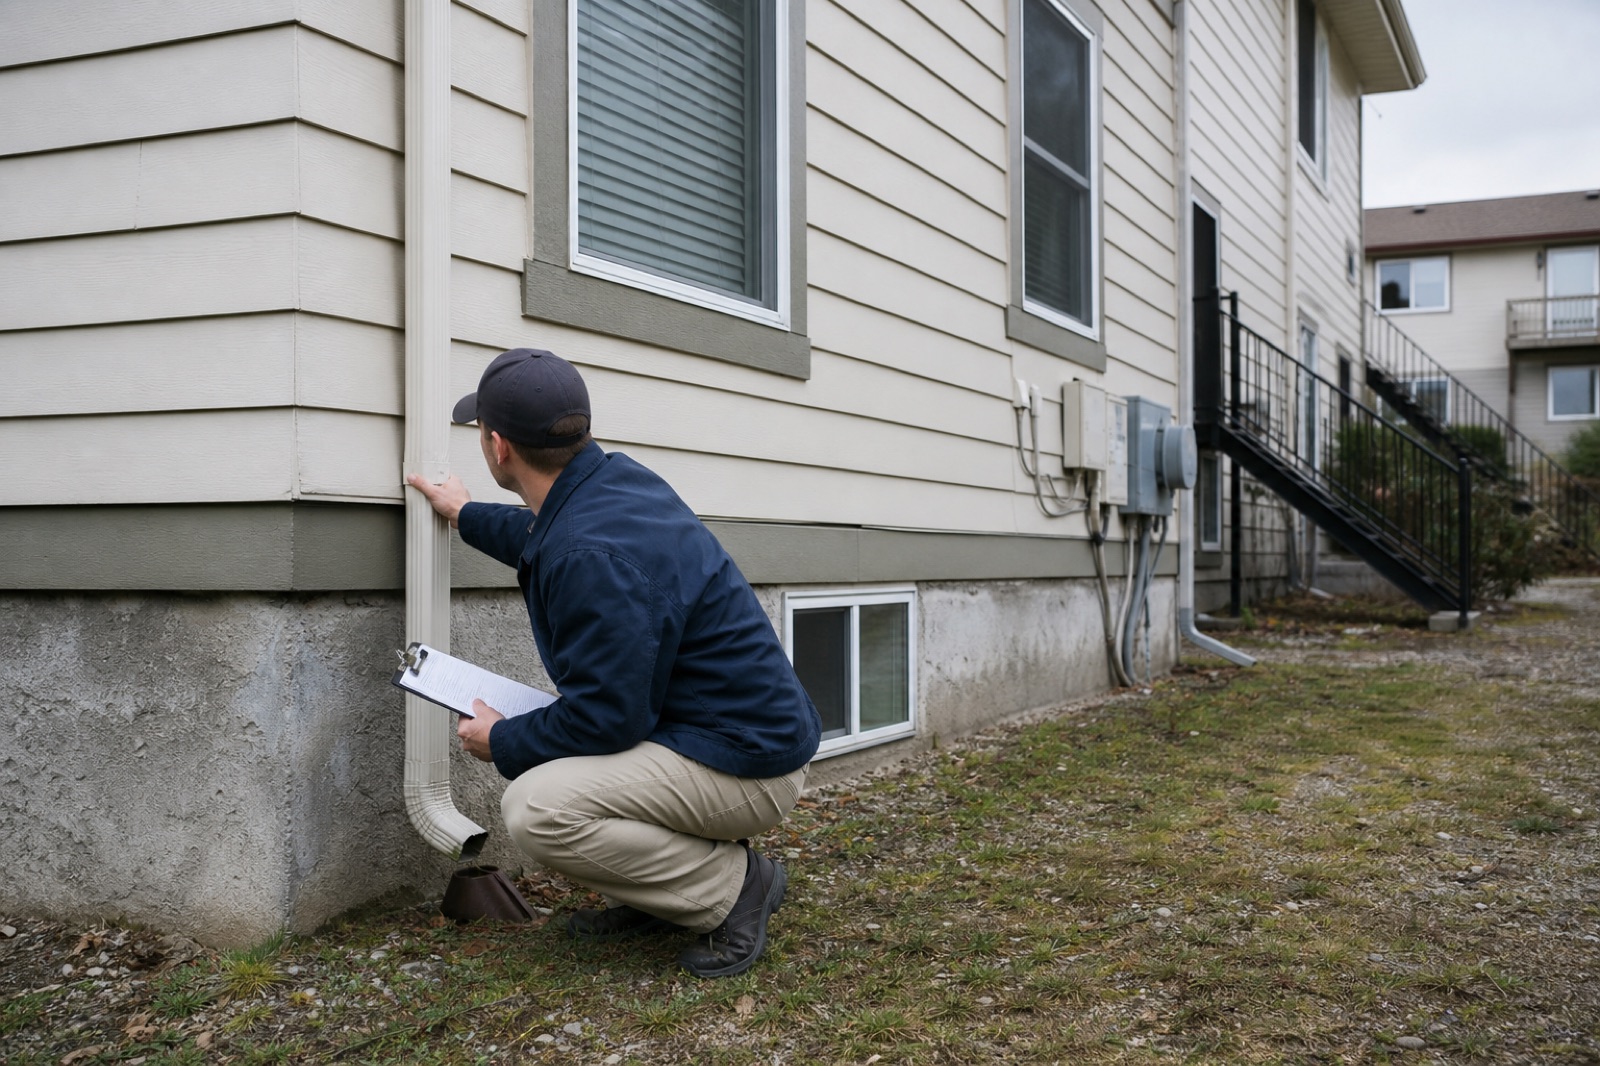
WHY THIS RESOURCE MATTERS
Create a condition baseline that survives staff changes
A property inspection should give the next manager or contractor a reliable picture of visible condition on a specific date. Organizing observations by room and building system helps separate a new defect from long-standing wear, plan maintenance, and explain why a repair was prioritized.
Limit conclusions to what could be seen and safely accessed. Moisture staining, cracking, unusual sound, or poor operation may justify further investigation, but a general walk rarely establishes the concealed cause. Record occupancy, weather, access restrictions, and any information supplied by the occupant alongside the observation.
CHECKLIST
What to include
- 01Exterior and access
- 02Roof and drainage
- 03Walls, floors, and ceilings
- 04Doors and windows
- 05Electrical fixtures
- 06Plumbing fixtures
- 07Heating and cooling
- 08Fire and life-safety items
- 09Damage and cleanliness
- 10Meters, keys, and sign-off
WHAT TO LOOK FOR
Condition changes that deserve a record
Moisture indicators
Staining, peeling finishes, musty odor, condensation, active drips, and damaged sealant should be mapped to the exact surface.
Openings and security
Doors and windows may bind, fail to latch, show damaged seals, or have hardware that needs maintenance.
Fixtures and services
Visible leaks, loose fittings, damaged outlets, poor drainage, or comfort complaints need an asset or room reference.
Surface movement
Cracks, separation, uneven floors, and displaced finishes should be photographed with scale and compared over time.
Occupancy effects
Blocked vents, overloaded storage, accidental damage, and access limitations can affect both condition and the inspection conclusion.
FIELD WORKFLOW
How to use this template
- 1
Confirm the inspection purpose, occupancy status, known complaints, previous reports, inaccessible areas, and permission for photographs before entering rooms.
- 2
Follow a consistent room sequence while also tracing each building system across spaces so repeated defects are not treated as isolated events.
- 3
Describe visible condition, occupant comments, and recommended investigation separately; assign urgent maintenance while still on site when needed.
- 4
Compare observations with the previous baseline, issue a prioritized work list, and retain images in a way that preserves room and date information.
PRIORITY GUIDE
Plan work around consequence and change
Protect people or property
Escalate active water escape, insecure access, loss of essential service, unstable elements, or other urgent exposure.
Schedule maintenance
Use for a confirmed defect likely to worsen, disrupt occupancy, or increase repair cost if left unattended.
Establish a baseline
Use for stable wear or uncertain movement that needs a dated photograph and a defined review point.
FIELD EXAMPLE
Example: monitoring a crack responsibly
For a diagonal crack above a living-room window, capture the full wall and a perpendicular close image with a simple scale. Note whether the window operates, whether finishes are loose, and whether the occupant reports recent change. Do not diagnose movement from the photograph alone. Give the observation a dated reference, identify conditions that require earlier escalation, and set a review or specialist assessment appropriate to the property context.
BEFORE YOU START
Adapt it to the job
Names, inspection frequency, acceptance criteria, retention rules, and sign-off responsibilities vary by project and jurisdiction. Remove irrelevant items and add the exact standards, drawings, specifications, and responsible people that apply to your work.
Use a licensed professional where regulation or the condition requires specialist assessment.